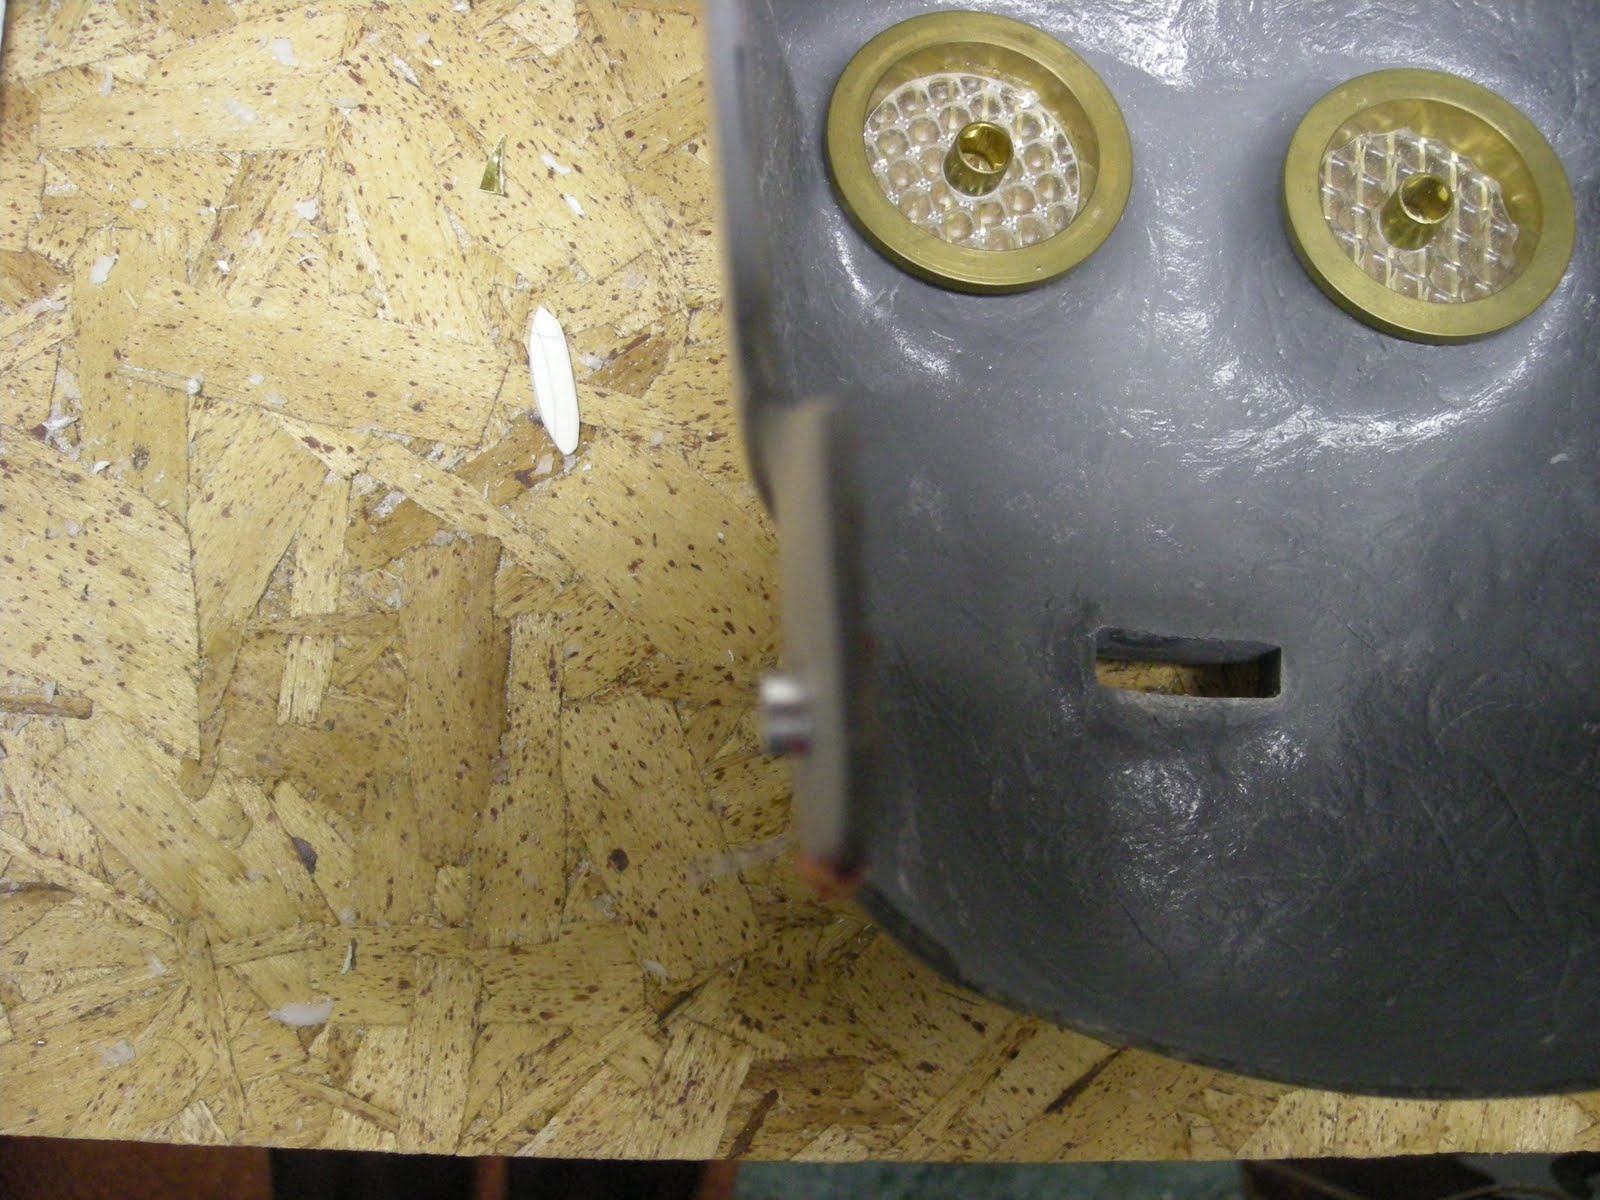
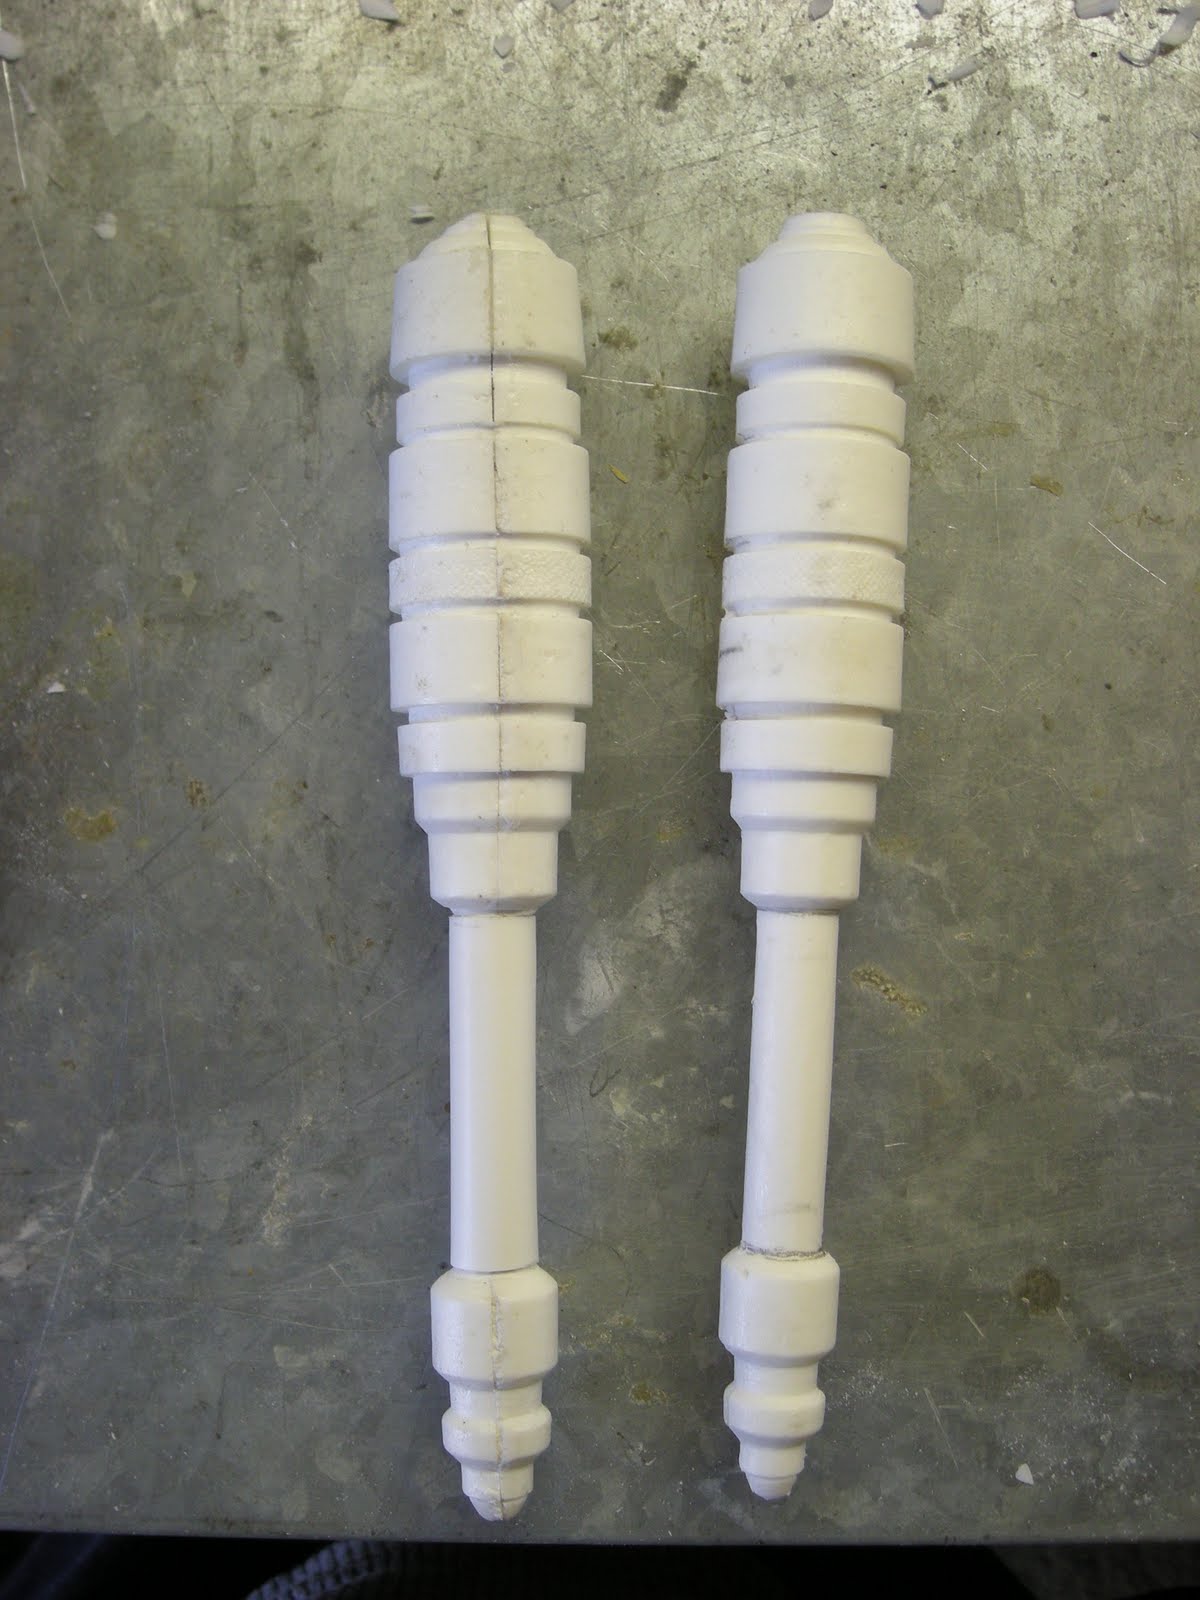
Wow! Has it really been a year? Cant believe how time fly s. I appreciate those that have stayed with me, hope i havent bored you too much. Anyway, not much new happened, really. Got some replacement parts and continued to sand, sand, sand. The finisher need the surface to be as smooth as possible. i sanded all the way up to 1000 grit.
Waiting is the hardest part. I had to save up money in order to get the gold chrome finish. I chose to go with the Spray Chrome. it is more expensive, and requires more prep work, but it is more durable than the Vac Plating and looks just as good, if not better...but more on that later.


I did order a set of New Hands and Feet from MonCal. They are very well done, and will be great to wear. I did have to wait quite a while, as these parts do take alot of trial and error. But in the end i was very satisfied.

I actually drove the parts to the finisher,minus the new hands and feet, who, lucky for me, lives in the same state about an hour and a half away. Shipping all those parts is a beast. Just loading them into the car was a challenge in itself. But, none the less, i did it. The guy the owns the shop has done a few suits before, and is familiar with what needs done. I felt pretty good leaving my work in his more than capable hands.He actually gave me a tour, explained the process, and worked with in my deadline. A true professional.
Now, lets see, oh, while the parts were getting all shiny and gilded, i started to work on the soft parts. Namely the Belly wires. I have a mannequn torso that came in handy for trying to form the paper template. It seems paper doesnt like to bend every which way. Imagine that. Anyhow, I formed it around the torso as close to the body as possible. I made it extra lond at the top to allow for trimming.

The front part wasnt to bad...
however the back...was a real pain in the ..well, you get the idea. Trying to not tear the paper, and get all kinds of folds and wrinkles..yeesh. It all worked out in the, uh.. ahem, end.
The black part of the torso in the original films was a rubber mat. It was changed in the new trilogy to a silicone casting to make it more comfortable for Mr. Daniels. Since i didn't feel like wearing a floor mat around my waist, i chose to go with black corduroy material. I bought some Plasti-dip in a spray and sprayed several layers onto the corduroy to give it a similar look. Turned out pretty good.The material will be attached to the foam backer to stiffen it, and act as a corset. Not that i need it mind you. ( hehe).

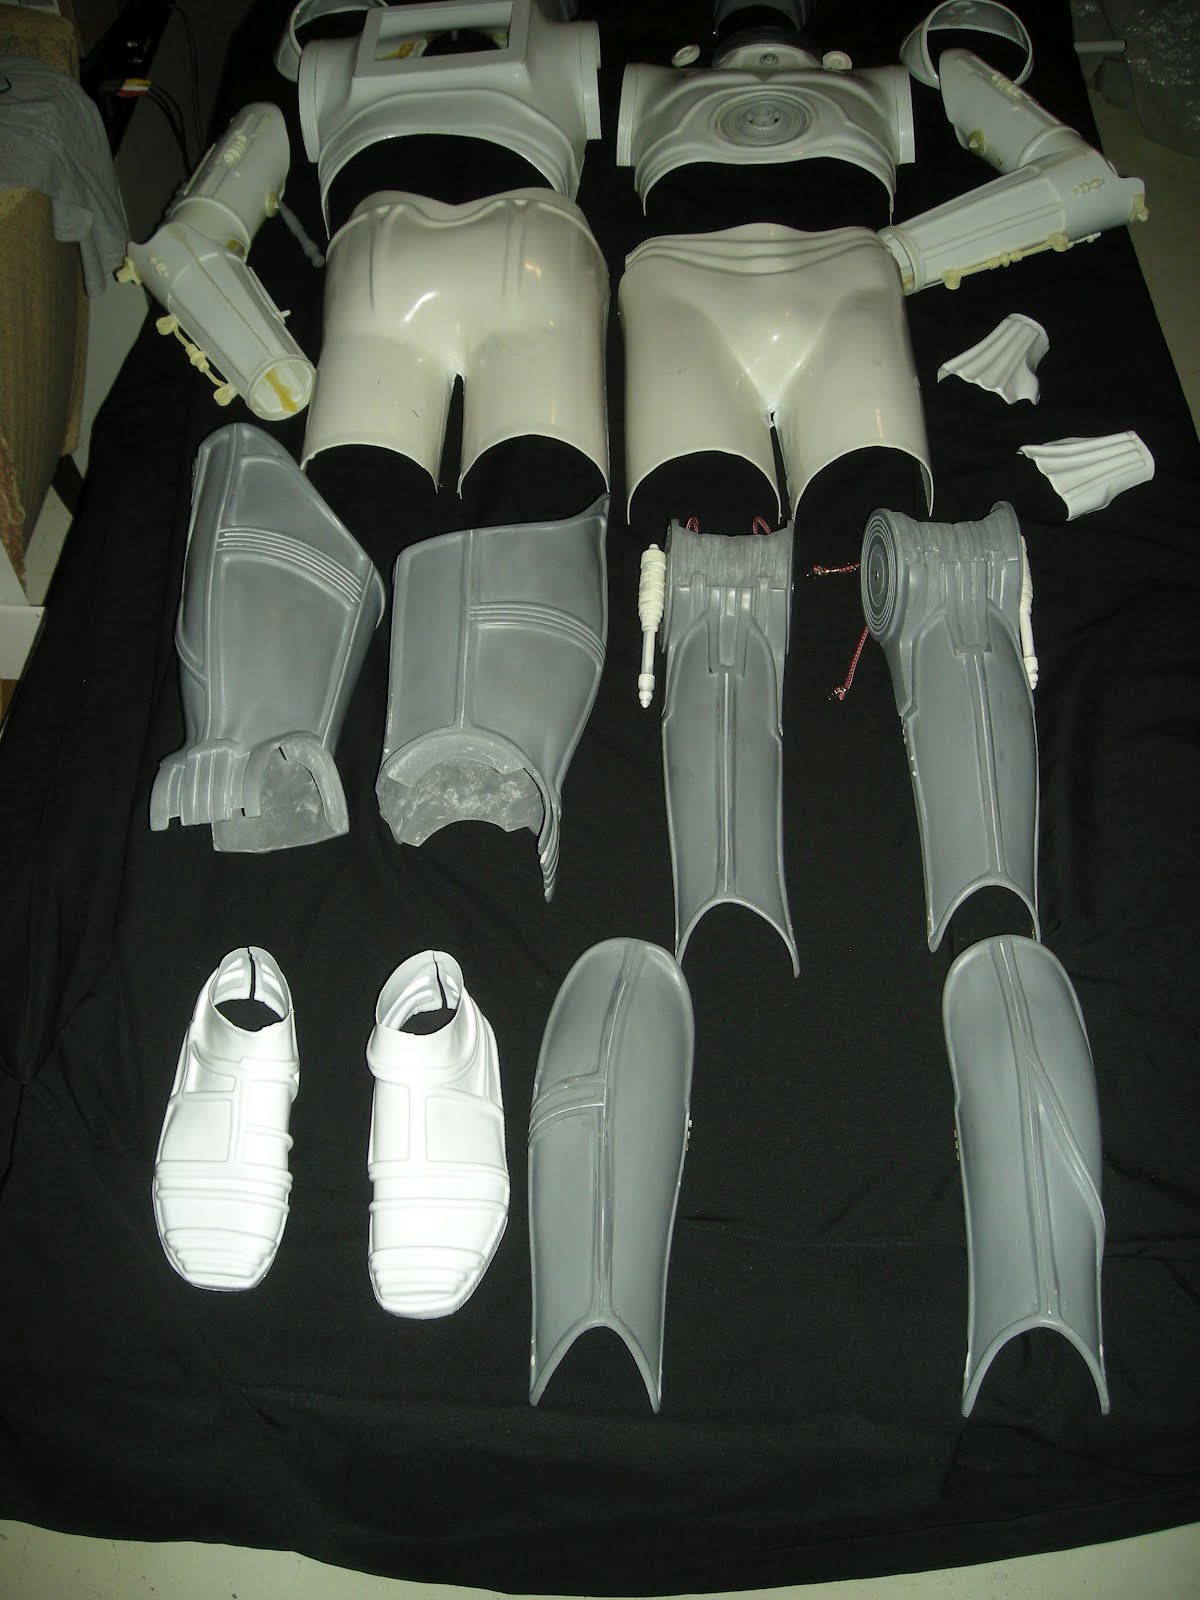 I did order a set of New Hands and Feet from MonCal. They are very well done, and will be great to wear. I did have to wait quite a while, as these parts do take alot of trial and error. But in the end i was very satisfied.
 I actually drove the parts to the finisher,minus the new hands and feet, who, lucky for me, lives in the same state about an hour and a half away. Shipping all those parts is a beast. Just loading them into the car was a challenge in itself. But, none the less, i did it. The guy the owns the shop has done a few suits before, and is familiar with what needs done. I felt pretty good leaving my work in his more than capable hands.He actually gave me a tour, explained the process, and worked with in my deadline. A true professional.
Now, lets see, oh, while the parts were getting all shiny and gilded, i started to work on the soft parts. Namely the Belly wires. I have a mannequn torso that came in handy for trying to form the paper template. It seems paper doesnt like to bend every which way. Imagine that. Anyhow, I formed it around the torso as close to the body as possible. I made it extra lond at the top to allow for trimming.
I actually drove the parts to the finisher,minus the new hands and feet, who, lucky for me, lives in the same state about an hour and a half away. Shipping all those parts is a beast. Just loading them into the car was a challenge in itself. But, none the less, i did it. The guy the owns the shop has done a few suits before, and is familiar with what needs done. I felt pretty good leaving my work in his more than capable hands.He actually gave me a tour, explained the process, and worked with in my deadline. A true professional.
Now, lets see, oh, while the parts were getting all shiny and gilded, i started to work on the soft parts. Namely the Belly wires. I have a mannequn torso that came in handy for trying to form the paper template. It seems paper doesnt like to bend every which way. Imagine that. Anyhow, I formed it around the torso as close to the body as possible. I made it extra lond at the top to allow for trimming.