Sunday, July 3, 2011

a few updates since last time

Well, haven't been updating in awhile.
Mostly because i was sanding parts. Talk about tedium and boring.
Anyway, I found these little things to be quite helpful. Found them at Lowe's in the hardware section. They are usually in the drawers where the screws and bolts and nuts are found.


I've used them for the inside of the knee area, and also for the pivot joints on the arms at the elbows. They work great.


Here i have drilled out a hole in the knee piston for the screw head, then applied an apoxy glue to hold it in place.

Thursday, October 21, 2010

Knee pistons


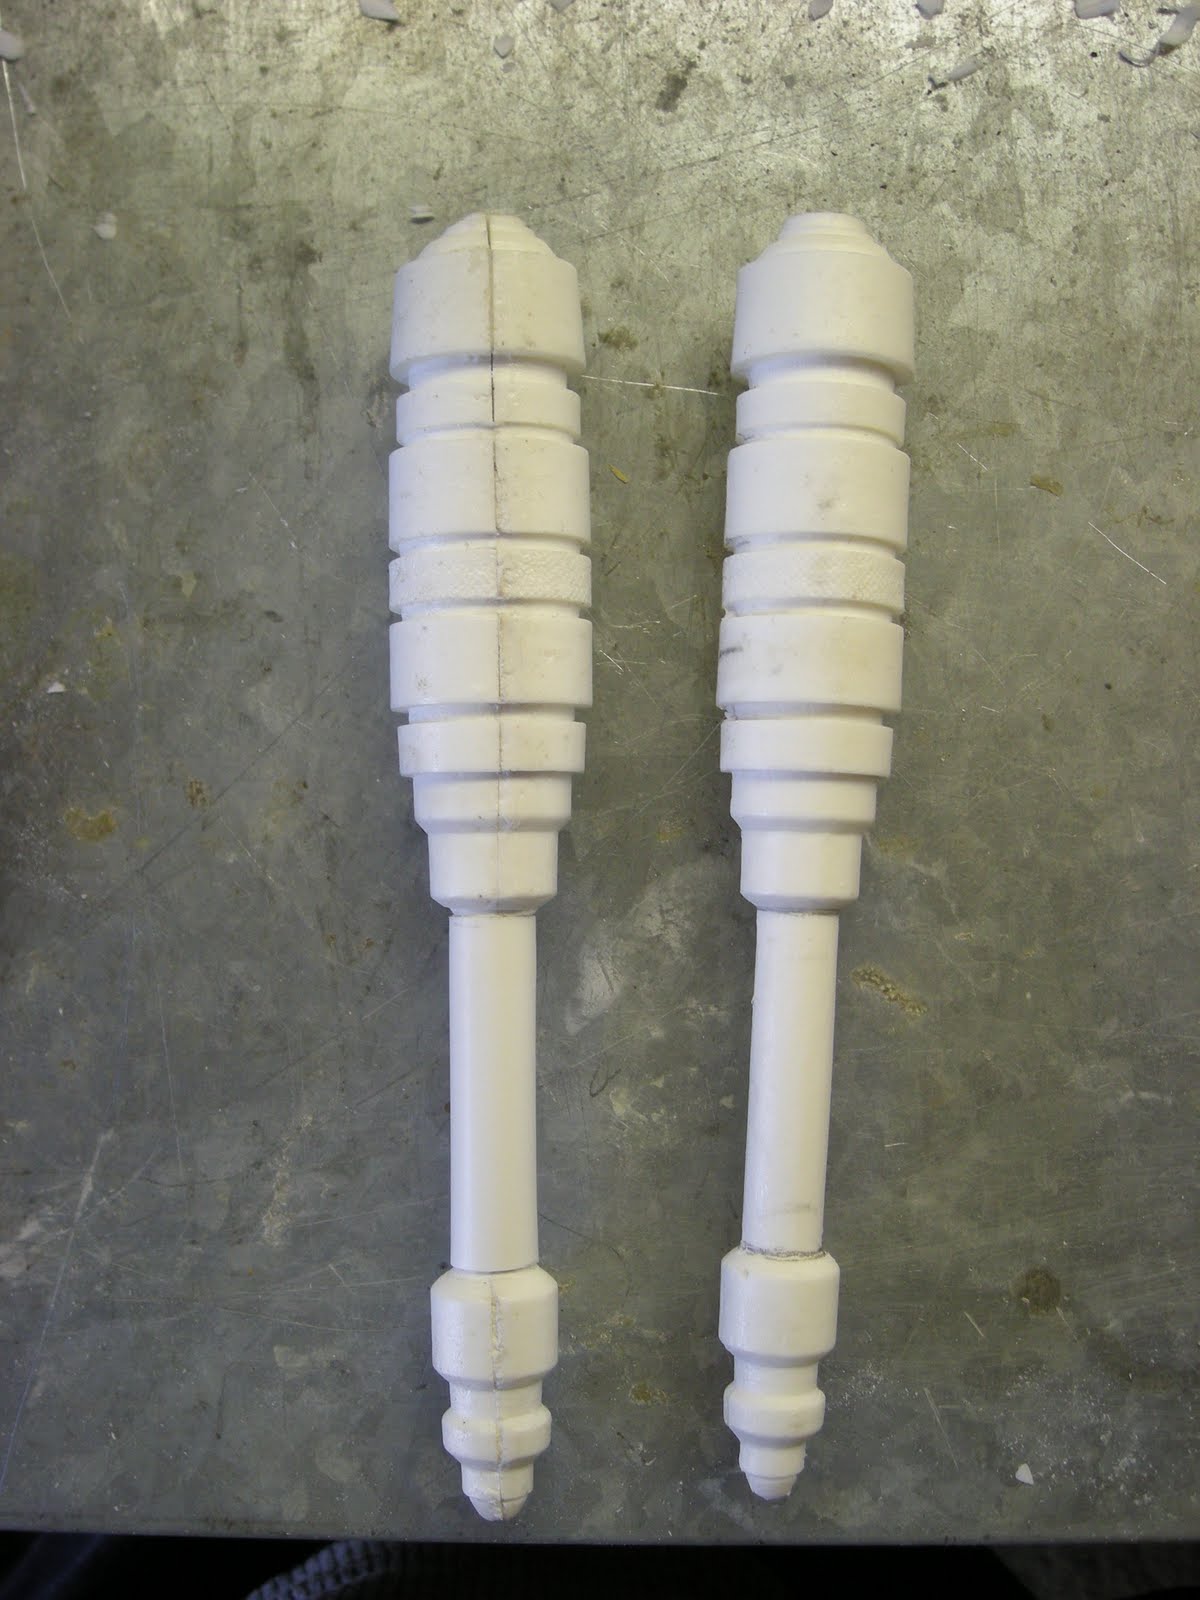
I got the Knee pistons from GA. Not too bad imo. They are halves, which will need sanded and glued together.

I removed the lower tube part and replaced it with a styrene tube. This straightens it. The top and bottom half were shaved down to fit inside the tube.

Monday, October 18, 2010

calf hinges or Swiss cheese anyone?


Been working on little bits here and there. Mostly sanding and such. I've attached the hinges to the calf area, as they were on the original suit. In hindesight, it might have been better to predrill the holes in the LEGS first, then modify the hinges to fit, not the other way round. I tried drilling from the inside out and, well it didnt quite work out the best, as the drill was on an angle.Finding a screwdriver small enough to fit between was also a challenge. Oh well, thank the maker for Apoxy sculpt, ay?


The screws are screwed in from the inside, and the protuding ends ground off.Oh, how the sparks flew. gotta remember that. Anyway, i removed the pins from the hinges BEFORE i attached them, and replaced them with a piece of wire or tin nail. This way the calf can stay hindged or come off completely.

Saturday, August 28, 2010

Can I give you a hand..?


The kit included the back of the hand plates, but no real fingers. After studying the resin display hands i purchased ( see earlier posts) i resculpted the fingers with Super sculpy. Templates were created from tracings using tissue paper draped over the resin hands. The templates were then traced onto the scuply. After forming over a mannequin hand, these were baked to harden. Final steps will be trimming,primer and sanding.

Sculpting this and that..


Resculpted the throat greeblie. The one that came with the kit was a bit rough. I actually used the back part of the Riddel C3PO helmet as a model, as it seemed to be the right size and basic shape.In the photos ( left to right) are the kit part, wax copy and final piece. Pretty pleased with the way it turned out.

Monday, June 21, 2010

Wrist details


I added the detail to the wrist. I covered the existing end of the arm with apoxy sculpt, and while it was still soft, used a medicine bottle lid to sculpt the grooves. after it dries, this stuff is tough as nails. so no fear of chipping. :)


Cutting some strips from thin styrene, i attached these to the wrists ontop of the grooves. This will give it a cleaner look rather than trying to sculpt in the detail.


Close up of wrist detail(with display hands).

Friday, June 18, 2010

Mounting the backplate


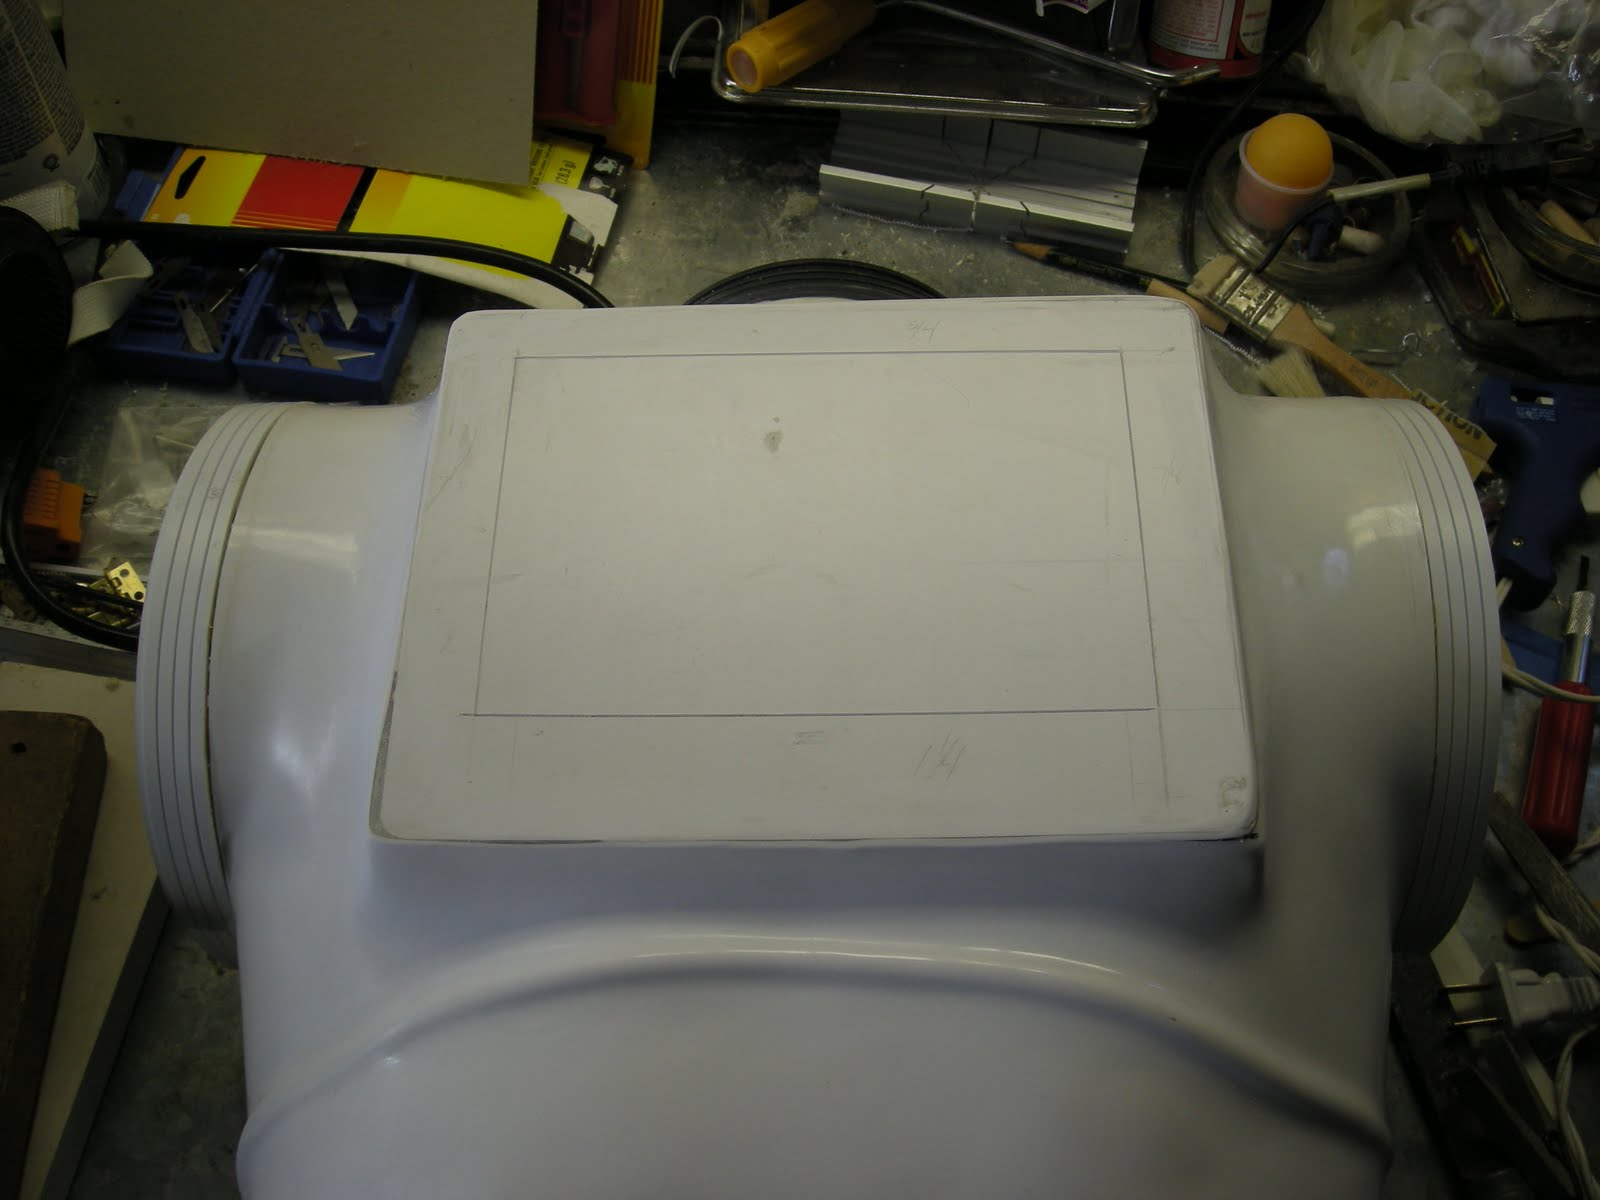
I started working on mounting the resin backplate to replace the vac-formed back of the suit. I cut the back open, leaving enough surrounding material to mount a flat piece of ABS. This will then have the center removed to allow access for changing batteries, etc. The resin plate will attach with magnets so that it can be easily removed.


One thing i noticed was that the back part of the suit is slightly off due to the way it was formed. This made the new back plate not lay flat. I had to make some adjustments and will need to patch over the seam on the left side. It does look better and lays flush.